A fresh coat of paint can brighten a room fast, but the finish only looks as good as the surface underneath it. If you are wondering how to prepare walls for painting, the short answer is this: clean them well, fix what is damaged, smooth the surface, and prime where needed. Skipping those steps is usually what leads to peeling, flashing, rough patches, and a paint job that looks tired much sooner than it should.
Good wall prep is not busywork. It is what helps paint bond properly, cover more evenly, and hold up to everyday use. In homes across Arizona, walls often collect more dust than people expect, and that fine buildup can interfere with adhesion if it is not handled first.
Why wall prep matters before paint goes on
Paint is not meant to hide every problem. It can soften minor imperfections, but it usually makes poor prep more visible. A dented wall, a greasy spot near a light switch, or a patched area that was never sanded flat tends to stand out even more once fresh paint goes on.
Proper prep also affects durability. When the wall is clean and sound, paint has a better surface to grab onto. That matters in high-traffic areas like hallways, kitchens, offices, and kids’ rooms where walls take more wear. If you want a finish that lasts, the work starts before the first brush or roller touches the wall.
How to prepare walls for painting step by step
There is no single prep routine that fits every wall. A bedroom with light scuffs needs less work than a kitchen wall with grease or a room with old nail pops and settling cracks. Still, the process follows the same basic order.
Start by clearing and protecting the space
Move furniture away from the walls if possible. Cover floors and nearby items so dust, patching material, and paint splatter do not become a bigger cleanup job later. Remove wall art, outlet covers, switch plates, and hardware that might get in the way.
This step seems simple, but it makes the rest of the job cleaner and more accurate. Prep goes faster when you are not trying to work around obstacles.
Clean the walls before anything else
Dust, hand oils, cooking residue, smoke film, and everyday grime can all affect how paint adheres. Even walls that look clean may have buildup on them, especially around doors, switches, baseboards, and corners.
For most interior walls, a light wash with mild soap and water works well. In kitchens, bathrooms, or other areas with heavier residue, you may need a stronger cleaner made for degreasing. The goal is not to soak the wall. Use a damp cloth or sponge, clean the surface thoroughly, and allow it to dry completely.
If you paint over dirt or grease, you are asking the coating to stick to that contamination instead of the wall itself. That usually shows up later as uneven sheen, poor coverage, or adhesion problems.
Inspect the surface in good light
Once the wall is clean and dry, take a close look. Side lighting helps reveal damage that overhead lighting can hide. Check for nail holes, dents, hairline cracks, peeling paint, tape residue, water stains, popped fasteners, and rough old patchwork.
This is where many people realize the wall needs more repair than expected. That is normal. Paint tends to expose flaws, not hide them, so this is the time to be honest about what the surface needs.
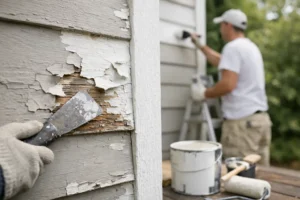
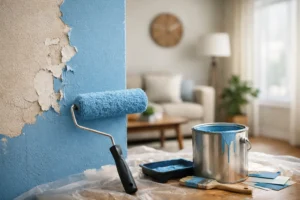
Patch holes and repair damaged areas
Small nail holes and minor dents can usually be filled with lightweight spackle or patching compound. Larger damage may require joint compound, mesh tape, or a more involved drywall repair. If paint is peeling, remove the loose material first. Do not patch or paint over edges that are already failing.
The important part is to build repairs correctly, not just quickly. Applying too much filler at once can leave a hump or crack as it dries. Sometimes two thin applications are better than one thick one.
For stains caused by water damage, repairing the wall is only part of the job. The source of the moisture needs to be addressed first. Otherwise, the problem often returns through the new paint.
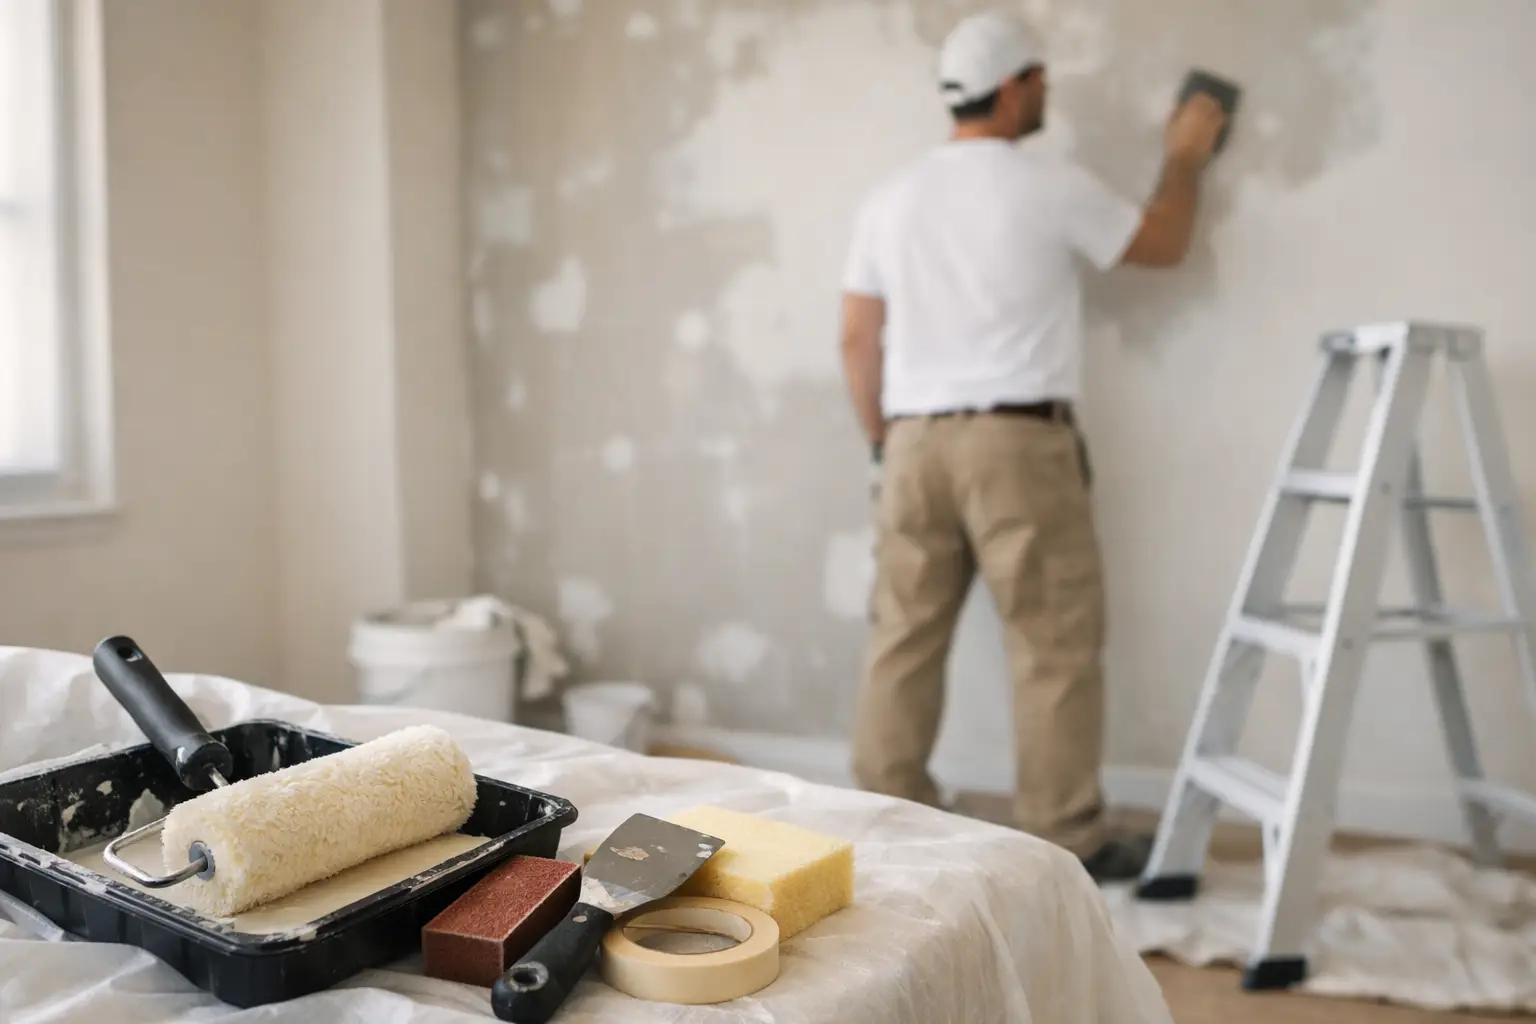
Sand for a smooth, even surface
After patches dry, sand them flush with the surrounding wall. Sand any rough spots, drips, raised old paint edges, or glossy areas that need to be dulled before repainting. The goal is a smooth transition, not just a smooth patch.
This step is where finish quality really starts to take shape. If a repair still catches your eye before paint, it will probably catch your eye after paint too. Running your hand over the wall often tells you more than a quick glance.
Be careful not to over-sand drywall paper or leave obvious swirl marks. Once sanding is done, remove dust thoroughly with a vacuum, microfiber cloth, or damp rag. Paint applied over sanding dust can end up looking gritty or uneven.
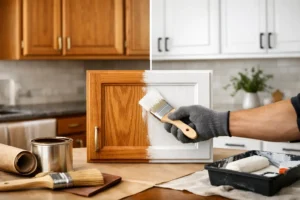
When primer is necessary and when it depends
Primer is not required for every repaint, but there are plenty of situations where it makes a real difference. If you repaired patches, covered stains, changed from a dark color to a light one, painted over bare drywall, or moved from a glossy finish to a different sheen, primer is usually the right call.
A quality primer helps create a more uniform surface so the topcoat dries evenly. That is especially helpful over patched spots, which often absorb paint differently than the surrounding wall. Without primer, those areas can flash through as dull or shiny patches even after the final coat dries.
If the existing paint is in great shape, the color change is minor, and the wall has already been cleaned and lightly sanded, a separate primer may not always be needed. This is one of those areas where it depends on the condition of the wall, not just the label on the paint can.
Common prep mistakes that cause paint problems
Most disappointing paint jobs can be traced back to a few avoidable prep mistakes. Painting over dirty walls is a big one. So is rushing patch repairs and assuming paint will level everything out. It usually will not.
Another common issue is skipping sanding because the wall looks smooth from a distance. Under fresh paint, especially in natural light, rough patches and repair edges become much more noticeable. Using the wrong cleaner can also create problems if residue is left behind.
Moisture is another concern. If walls are damp from washing, humidity, or a leak that has not fully dried, paint adhesion can suffer. The surface may feel ready before it actually is. Giving walls proper drying time is part of the prep, not a delay in the process.
How much prep is enough?
This depends on the room, the wall condition, and the finish you expect. If you want a quick color change in a low-visibility area, your prep may be fairly light. If you want a clean, durable finish in a main living space, entryway, kitchen, or commercial setting, more detailed prep is worth it.
That is one reason professional painters spend so much time on surface preparation. The painting itself is only one part of the result. Clean workmanship starts with careful setup, solid repairs, and attention to the condition of the substrate.
In dry, dusty climates like Mesa and the greater Phoenix area, prep matters even more than many property owners realize. Fine dust can settle on surfaces quickly, and exterior-facing walls may show more wear from heat and sun exposure over time. A better finish usually comes from slowing down enough to prepare the wall correctly before painting begins.
Knowing when to call in a professional
Some wall prep is straightforward. Cleaning, filling small nail holes, and light sanding are manageable for many homeowners. But if you are dealing with widespread cracking, peeling layers, water damage, texture matching, tall walls, or a surface that has failed more than once, it may be time to bring in a professional crew.
A reliable painter does more than apply paint. They evaluate the condition of the walls, choose the right prep methods, and help prevent the kind of shortcuts that lead to callbacks and frustration. That is especially important when you want consistent finish quality across multiple rooms or a property that needs to look well cared for from the start.
At 1UP Painting LLC, proper prep is part of delivering a finish you can trust. The paint gets the attention, but the prep is what helps it last.
If you are getting ready to repaint, give the walls more attention than you think they need. A little extra care before painting is often what makes the final result look cleaner, hold up longer, and feel worth it every time you walk into the room.