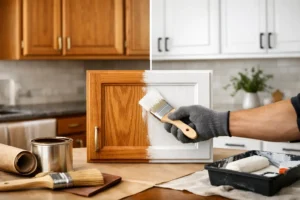
A rushed cabinet paint job usually looks fine for about a week. Then the fingerprints show up, the edges start to chip, and the finish around the pulls begins to wear. If you’re learning how to repaint kitchen cabinets, the real work is not just brushing on a new color. It is surface prep, product choice, and patience between coats.
Kitchen cabinets take more abuse than most painted surfaces in a home. They deal with grease, moisture, hand oils, cooking residue, and constant opening and closing. That means repainting them successfully is less like painting a wall and more like refinishing a high-touch surface that needs to hold up over time.
How to repaint kitchen cabinets without shortcuts
The biggest mistake homeowners make is treating cabinets like basic trim. Cabinets need to be cleaned more thoroughly, sanded more carefully, and coated with products designed for adhesion and durability. If any one of those steps gets skipped, the finish can fail early even if the color looks good on day one.
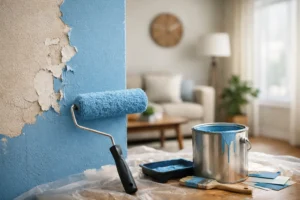
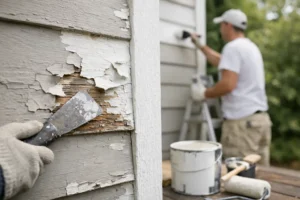
Before you start, decide whether your cabinets are worth repainting. Solid wood, MDF, and many previously painted cabinets can be refinished well. Cabinets with peeling thermofoil, major water damage, or failing laminate are a different story. In those cases, repainting may not give you a finish you can trust for the long term.
Start by removing doors, drawers, and hardware
Take off all doors and drawer fronts first. Remove handles, knobs, hinges, bumpers, and any removable shelving if it gets in the way. Label everything clearly so each door and drawer goes back to the right opening later.
This part feels tedious, but it saves time and frustration. Painting around hinges or trying to work with doors still hanging almost always leads to drips, missed edges, and uneven coverage.
Clean like paint depends on it
It does. Cabinets, especially around the stove and sink, collect a film that is not always visible. Degreasing is one of the most important parts of the process.
Use a strong cleaner meant to cut grease and residue. Wipe every surface thoroughly, including face frames, door backs, edges, drawer fronts, and areas around handles. If the rag still comes up dirty, keep cleaning. Paint and primer do not bond well to grease, even if the cabinet looks dry.
Sand for adhesion, not destruction
Once the cabinets are clean and dry, scuff sand all surfaces. You do not need to grind them down to bare wood unless the existing finish is failing. The goal is to dull the old coating and create a surface the primer can grip.
A medium to fine grit sandpaper usually works well. On profiles and detailed doors, sanding sponges can help you stay consistent without flattening the design. After sanding, vacuum the dust and wipe everything down with a tack cloth or damp microfiber cloth. Dust left behind will show in the final finish.
The best materials matter more than most people expect
If you want a durable result, the paint system matters as much as the prep. Not every paint labeled for trim or furniture is a good fit for cabinets. Kitchens demand a coating that levels smoothly, resists sticking, and cures hard enough to handle daily wear.
Use the right primer
Primer is not optional on most cabinet repaint projects. It helps with adhesion, blocks stains, and creates a consistent base for the topcoat. If your cabinets are stained wood, dark in color, or have tannins that may bleed through, a quality bonding or stain-blocking primer is especially important.
This is also where product selection depends on the cabinet material. Bare wood, factory-finished cabinets, and previously painted surfaces may all call for slightly different primers. Following the coating system recommended by the manufacturer is usually smarter than mixing random products just because they are available.
Choose cabinet-grade paint
For most homeowners, a cabinet enamel or trim enamel designed for hard-use surfaces is the safest choice. These products are made to level out better than wall paint and to cure into a tougher finish. Satin, semi-gloss, and soft gloss are common choices. The right sheen depends on the look you want, but in kitchens, durability and cleanability matter just as much as appearance.
Very glossy finishes can highlight surface flaws. Lower sheens can be more forgiving, but they still need to be washable. That trade-off matters if your cabinet doors have dents, heavy grain, or older workmanship you do not want to spotlight.
How to repaint kitchen cabinets for a smooth finish
A smooth result comes from method, not luck. Even a good paint can look rough if it is applied too heavily, recoated too soon, or brushed with the wrong tools.
Brush, roll, or spray?
Each method has advantages. Brushing works well for detailed areas and touchups, but it can leave brush marks if the paint is not meant to self-level. Rolling with a high-density foam or microfiber mini roller can produce a clean finish on flatter doors and frames, especially for DIY projects. Spraying usually gives the most factory-like appearance, but it requires more setup, masking, ventilation, and control.
For many homeowners, a combination approach makes sense. Brush the profiles and corners, then roll the flat sections. If you are spraying, make sure the doors are laid out in a clean, dust-controlled area and that overspray is fully contained. In an occupied home, that level of prep is one reason many cabinet jobs are better handled by a professional crew.
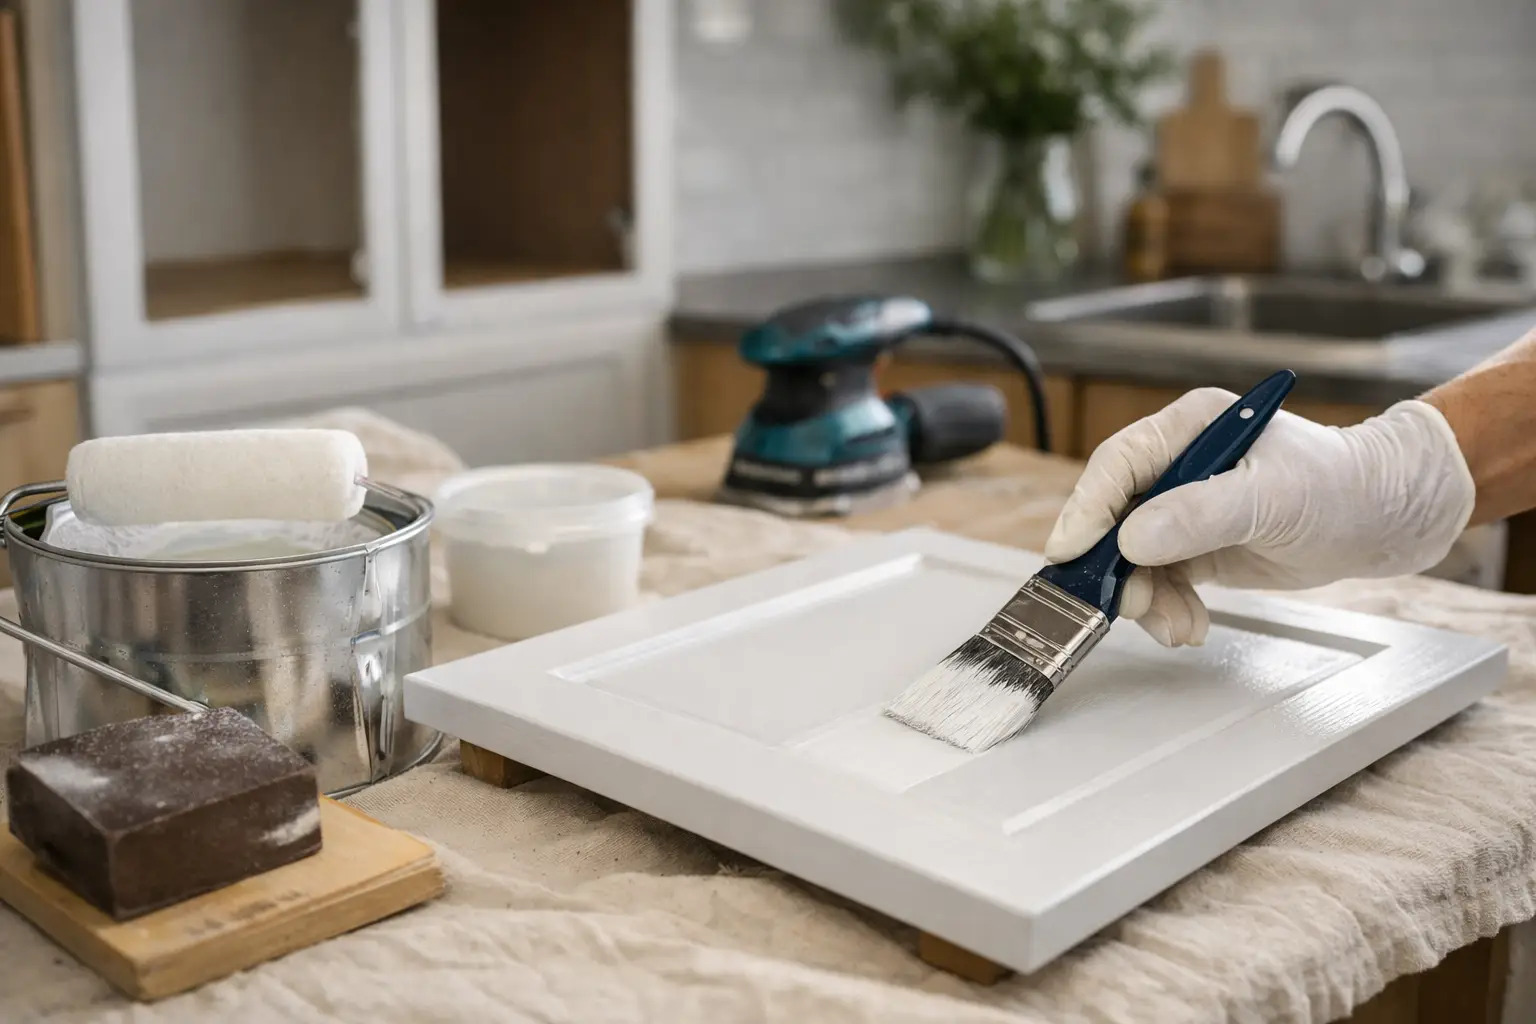
Apply thin, even coats
After priming and letting the primer dry fully, sand lightly to knock down texture and dust nibs. Then apply your first coat of paint in a thin, even layer. Heavy coats may seem faster, but they tend to sag, dry unevenly, and stay soft longer.
Let each coat dry and recoat according to the product instructions, not just by touch. Dry and cured are not the same thing. In Arizona, surfaces may feel dry quickly because of the heat, but proper cure time still matters for hardness and durability.
Most cabinets need two topcoats over primer for solid coverage and finish quality. Dark colors, wood grain, and major color changes may need additional work. That is normal. Trying to force full coverage in one heavy coat usually creates more problems than it solves.
Do not rush reassembly
Once the final coat is on, give the cabinets time before reinstalling doors and hardware. This is where many decent paint jobs get damaged. Fresh paint can dent, stick, or peel if the doors are stacked too soon or hinges are tightened against a soft finish.
If possible, wait several days before putting everything back into regular use. Be gentle for the first couple of weeks while the coating continues to harden. That patience pays off in a finish that lasts longer.
Common problems and why they happen
Cabinet paint failure usually traces back to one of a few issues. Chipping around knobs often means poor cleaning or weak adhesion. A rough texture can come from dust contamination, overworked paint, or low-quality rollers. Visible grain or patchiness may mean the wrong primer was used, or not enough prep went into sanding and filling.
Color choice can create issues too. Bright white cabinets look clean and timeless, but they show scuffs, food splatter, and wear faster than mid-tone colors. Dark cabinet colors can look sharp and modern, but they tend to reveal dust, fingerprints, and uneven sheen more easily. There is no perfect choice for every kitchen. It depends on your layout, lighting, and how much maintenance you want to see.
When hiring a pro makes more sense
If your kitchen is the center of your home and you want a cleaner, longer-lasting result, professional cabinet refinishing is often worth considering. Cabinets are one of the most detail-sensitive painting projects in a house. The difference between average and professional work is usually obvious in the prep, the smoothness of the finish, the crisp edges, and how well the coating holds up six months later.
For homeowners in Mesa and nearby communities, this is also about minimizing disruption. A reliable painting contractor should be able to explain the prep process, protect surrounding surfaces, manage drying and cure times, and keep the project moving on schedule. That kind of hands-on oversight matters when your kitchen is out of service, even temporarily.
1UP Painting LLC approaches cabinet refinishing the same way any high-wear surface should be handled – with proper prep, durable products, clean workmanship, and finish quality that holds up to everyday use.
Repainting kitchen cabinets can absolutely refresh a dated space without the cost of a full remodel. Just remember that the best results come from doing the slower parts well. A cabinet finish is something you touch every day, so it is worth treating it like a surface that needs to perform, not just look good from across the room.