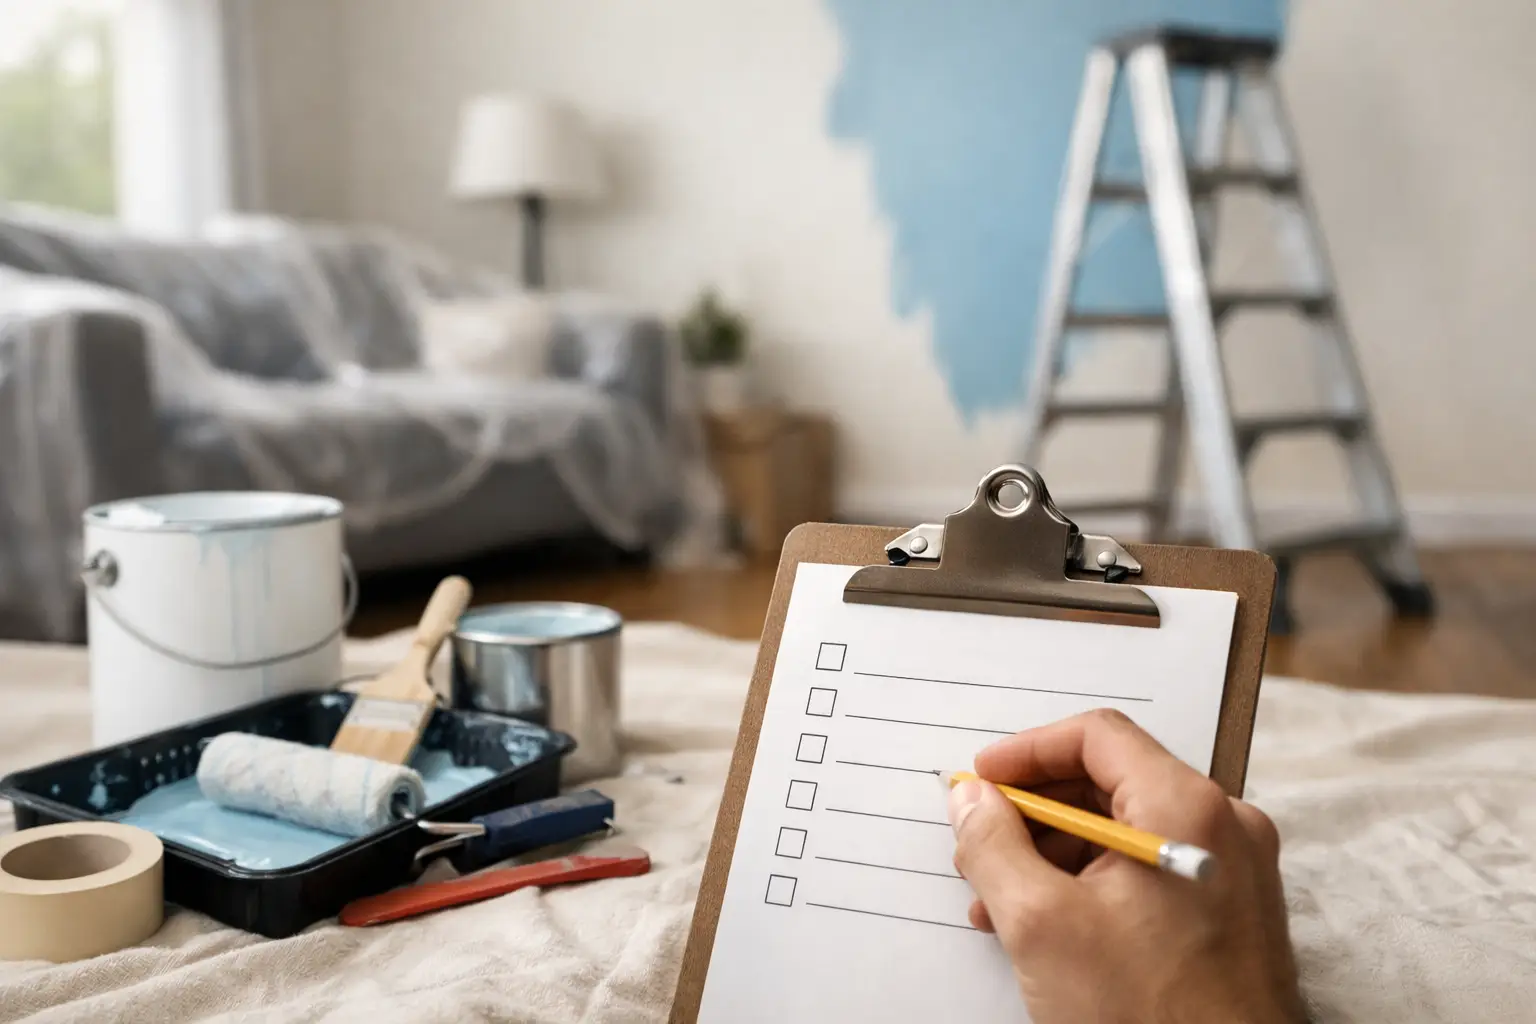
Fresh wall color can make a room feel cleaner, brighter, and more current – but most interior paint problems start long before the first coat goes on. An interior painting checklist for homeowners helps you catch the details that affect finish quality, durability, scheduling, and cleanup, especially if you want the job done right the first time.
Whether you plan to hire a professional or handle some of the prep yourself, the goal is the same: fewer surprises and better results. Paint looks simple from a distance. Up close, the difference comes from preparation, product choices, and how carefully the space is protected.
Why an interior painting checklist for homeowners matters
Homeowners usually focus on color first, which makes sense. Color changes the room immediately. But if the walls have nail pops, greasy spots, hairline cracks, patchy repairs, or old sheen differences, even the best paint can end up highlighting flaws instead of hiding them.
A checklist keeps the project grounded in the practical side of the work. It helps you think through wall condition, room use, drying time, furniture protection, and the level of finish you expect. It also makes it easier to compare contractors fairly because you can ask whether prep, minor repairs, masking, and cleanup are actually included.
That matters in lived-in homes. A guest bedroom and a busy kitchen do not need the same approach. Neither do a newer drywall surface and a wall that has seen years of touch-ups. Good planning keeps the scope realistic and avoids paying for a rushed paint job that looks tired too soon.
Start with the condition of the room
Before choosing paint, look closely at the surfaces. Stand near windows and check walls in natural light. Look for dents, peeling areas, stains, caulk gaps, stress cracks, and uneven patches from old repairs. If the trim is being painted too, inspect for chips, worn corners, and buildup from previous coats.
This step matters because paint is a finish, not a fix. It can improve a room dramatically, but it does not correct damaged drywall, active moisture issues, or dirty surfaces on its own. If there are water stains, smoke residue, grease, or mildew concerns, those need to be addressed before painting begins.
It is also the right time to decide how much of the room is really included. Are you painting only walls, or walls, ceilings, doors, trim, and closets too? Homeowners often assume these are part of the same project, but they affect labor, materials, and scheduling in a big way.
Confirm the scope before you buy paint or request bids
A clear scope prevents confusion later. Write down each room and list exactly what will be painted. Include walls, ceiling, baseboards, crown molding, interior doors, window trim, and any built-ins. If there are accent walls or color changes from room to room, note that too.
This is also where trade-offs come in. Painting only the walls costs less and moves faster, but old trim can make freshly painted walls look unfinished. Painting ceilings adds time and cost, yet it often gives the room a cleaner overall reset. There is no single right answer. It depends on your budget, how worn each surface is, and whether you are updating for your own use or preparing to sell.
If you are hiring a contractor, ask what level of prep is included. Some bids cover basic patching and sanding. Others price repairs separately. That difference can explain why one estimate is lower than another.
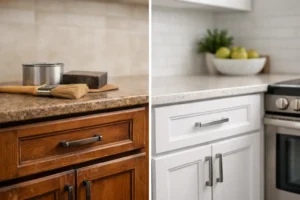
Choose color and sheen with the room in mind
Color gets the attention, but sheen affects how the room wears over time. Flat and matte finishes hide surface flaws better, which makes them useful for ceilings and some low-traffic walls. Eggshell and satin are common choices for living areas because they balance cleanability with a softer appearance. Semi-gloss is often used on trim, doors, and sometimes bathrooms or kitchens.
The wrong sheen can work against you. Higher sheen reflects more light, which means it also shows more imperfections. If your walls are less than perfect, a shinier finish may make patches and texture differences stand out.
Arizona homeowners should also think about lighting. Strong natural light can shift how color reads throughout the day. A paint sample that looks calm in the store may feel much brighter in a sun-filled room. Testing samples on multiple walls is worth the time.
Prep the space, not just the walls
One of the biggest signs of professional work is how well the room is protected before painting starts. Move small items out completely. Remove wall decor, curtain hardware, vent covers, switch plates, and outlet covers where practical. Large furniture should be moved to the center and covered properly.
Floors matter just as much as walls. Hard floors, carpet, and countertops should be covered with materials that stay in place and actually protect against drips, dust, and foot traffic. This is one reason rushed projects create so many homeowner complaints. Poor masking and weak floor protection can turn a straightforward paint job into a cleanup problem.
If the home is occupied, think through daily life during the project. Children, pets, work-from-home schedules, and room access all affect timing. A dependable crew plans around that. A homeowner doing the work themselves should do the same.
The prep checklist that affects finish quality
This is the part that often determines whether the finished room looks smooth and durable or freshly painted for a few weeks and then disappointing. Surfaces should be cleaned where needed, dull or glossy areas should be sanded, small holes should be filled, cracks addressed, and dust removed before primer or paint is applied.
Caulking is another detail that makes a visible difference, especially around trim and gaps. So is spot priming repaired areas or stained sections. Without primer where it is needed, patches can flash through the topcoat and stains can return.
Not every room needs heavy prep. A newer, well-kept room may need only minor filling and light sanding. An older room with layered touch-ups and wall damage may need much more. That is why honest assessment matters. Good workmanship starts with telling the truth about the surface.
Ask the right questions if you are hiring a painter
A strong estimate should be clear about what is included, how the room will be protected, what prep is planned, how many coats are expected, and who is responsible for cleanup. Homeowners should also ask whether the crew is licensed, bonded, and insured, and whether the work is being completed by the company’s own team or subcontracted out.
Scheduling matters too. Ask how long the project should take, what hours the crew will be on site, and what could change the timeline. Repairs, deep color changes, and high-humidity areas can all affect production. Straight answers upfront are usually a good sign.
If you are in Mesa or nearby communities, it is reasonable to ask how often the contractor works in occupied homes and what steps they take to keep the space orderly each day. Clean workmanship is not a bonus. It is part of the service.
Plan for ventilation, drying, and re-entry
Interior painting is not just about getting color on the wall. Dry time affects when furniture can go back, when wall hangings can be rehung, and how soon a room can return to normal use. Even when paint feels dry to the touch, it may still be curing.
That means patience matters. Pushing furniture against walls too soon can scuff fresh paint. Hanging heavy artwork too early can leave marks or pull at a soft finish. Bathrooms, kitchens, and laundry areas may need extra consideration because moisture and use levels are higher.
Ventilation should be part of the plan from day one. Good airflow helps with comfort and drying, but it has to be balanced with weather, dust, and room conditions.
Do a final walkthrough before calling it finished
The last step on any interior painting checklist for homeowners is the walkthrough. Check coverage in daylight and at night with lights on. Look along wall edges, around outlets, at trim lines, and near repaired areas. Make sure there are no missed spots, paint splatter, rough patches, or tape pull issues.
Cleanup should be complete, not partial. That means coverings removed carefully, plates reinstalled, debris picked up, and the room left in usable condition. Touch-up paint should be labeled and stored if available.
If you are working with a contractor, this is the time to ask questions while the crew is still present. A reliable company will want the chance to address small items before the project closes out. That level of follow-through is part of what separates a quick paint job from a finish you can trust.
A well-painted room should feel better the moment you walk in – cleaner lines, smoother surfaces, and a color choice that fits the way you live. The checklist is there to protect that outcome, not just the schedule.