Fresh wall color can make a room feel cleaner, brighter, and more current, but a good result depends on much more than opening a can and rolling paint. This residential interior painting guide is built for homeowners who want the job done right the first time, with clean workmanship, realistic expectations, and a finish that holds up to daily life.
Interior painting looks simple from a distance. Up close, the details matter. Uneven patches, visible roller lines, peeling around trim, and sloppy cut-ins usually come back to one issue – poor preparation. If you are planning to repaint a single room or update most of your home, the real difference between a quick cosmetic change and a durable finish is the work that happens before the first coat goes on.
What a residential interior painting guide should help you decide
Most homeowners are not just choosing a color. They are also deciding how much disruption they can tolerate, whether walls need repair, how durable the finish should be, and whether the project is worth doing themselves or handing off to a professional crew.
That is why a useful residential interior painting guide should answer practical questions. What condition are the walls in now? Are there nail pops, settling cracks, stains, grease, or old touch-up marks? Is the paint failing, or is the room simply dated? Those answers affect the prep plan, the paint product, and the final cost.
Homes with kids, pets, or high traffic need a different approach than a formal dining room that sees little wear. A hallway, bathroom, kitchen, and primary bedroom may all be painted the same week, but they should not all be treated exactly the same way.
Prep work is where finish quality is won or lost
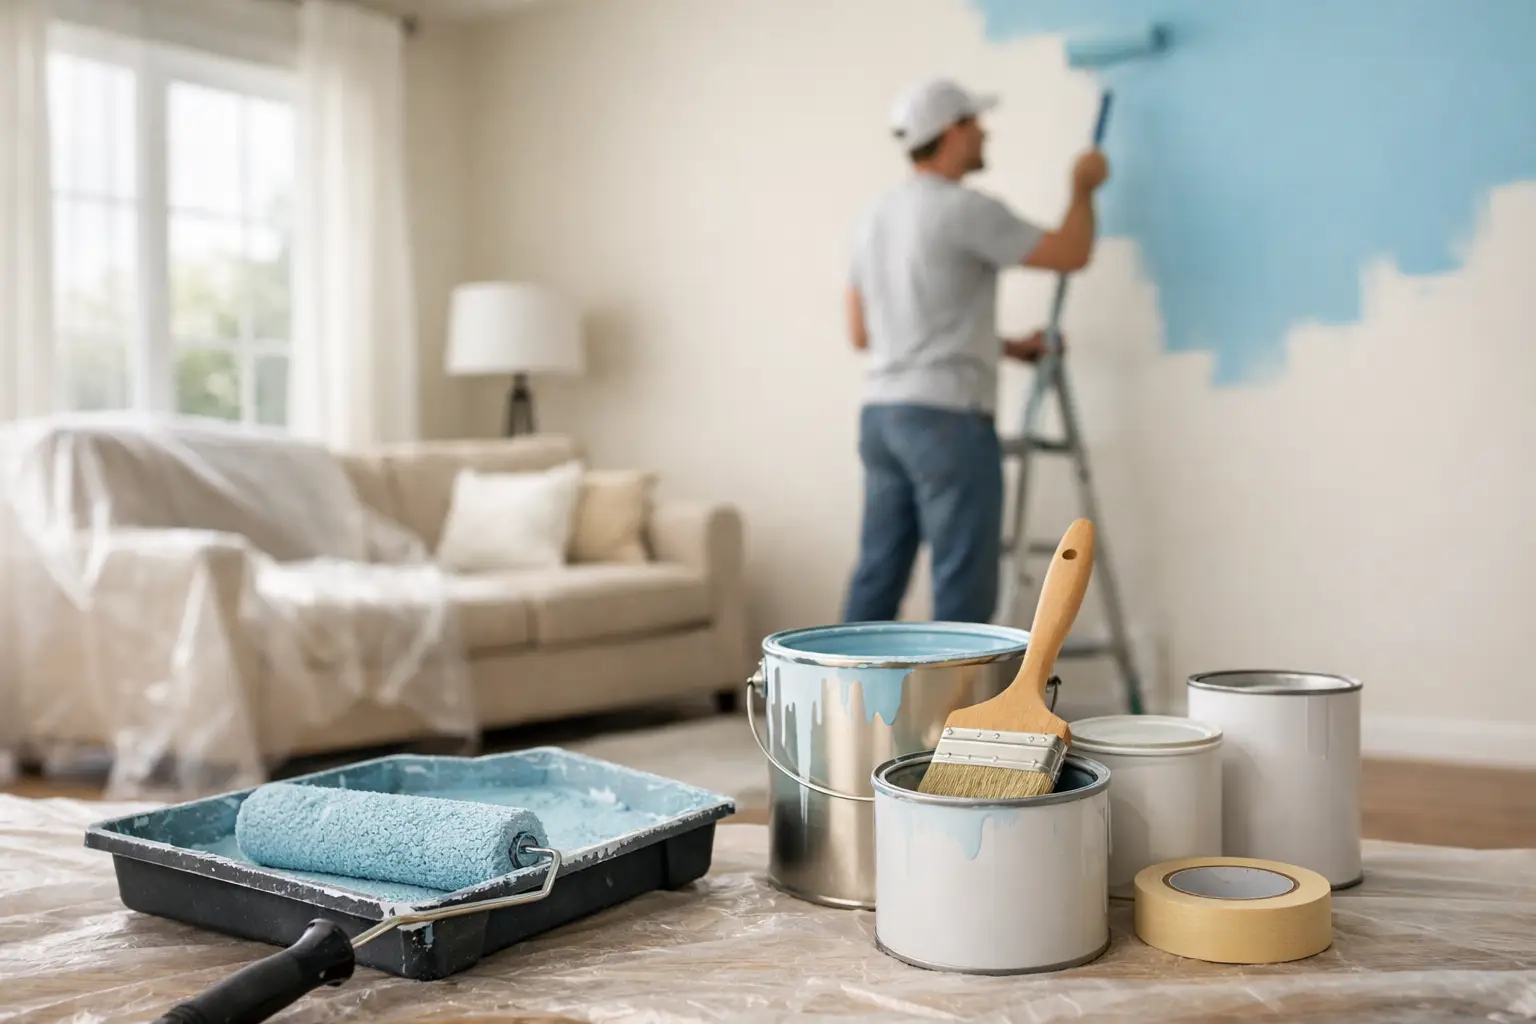
Surface preparation is not the glamorous part of painting, but it is the part that protects the final result. Clean walls accept paint better. Repaired drywall looks flatter and more consistent. Proper masking keeps floors, baseboards, fixtures, and furniture protected.
A solid prep process usually starts with moving and covering furniture, protecting floors, removing switch plates, and checking the wall surface under normal and angled light. Small dents, popped fasteners, and hairline cracks often show up more clearly once the room is emptied. If those repairs are skipped, fresh paint can actually make them stand out more.
Cleaning matters more than many homeowners expect. Dust, hand oils, cooking residue, and bathroom moisture can all interfere with adhesion. In kitchens and baths especially, wiping surfaces down before priming or painting is a necessary step, not an extra.
Then comes patching, sanding, and spot priming. This stage takes patience. If a patch is not feathered properly, the texture difference can show through the topcoat. If stains are not sealed, they may bleed back through. If glossy areas are not dulled, new paint may not bond well. That is why experienced painters spend so much time on walls before they start applying finish coats.
Choosing the right paint matters more than choosing the most expensive one
Homeowners often assume the highest-priced paint is automatically the best choice. Sometimes it is worth it, sometimes it is not. The better approach is matching the product to the room and the surface.
For living rooms, bedrooms, and ceilings, appearance often leads the decision. You want even coverage and a smooth, consistent look. In kitchens, bathrooms, laundry rooms, and busy hallways, washability and moisture resistance become more important. Trim, doors, and baseboards need a tougher finish than standard wall surfaces because they get touched, bumped, and cleaned more often.
Sheen also affects both look and maintenance. Flat finishes hide wall imperfections better, but they can be harder to clean. Eggshell and satin are popular because they balance softness with durability. Semi-gloss is common on trim and doors because it stands up well and highlights detail, but on damaged walls it can emphasize flaws.
Color selection is where excitement usually starts, but color should be tested in the actual room. Natural light, interior lighting, flooring, cabinets, and even exterior sun exposure can change how a paint color reads throughout the day. In Arizona homes, strong sunlight can make some tones appear warmer or brighter than expected, so test patches are worth the time.
Room-by-room expectations and trade-offs
Not every room has the same demands, and treating them as if they do can lead to disappointment.
Bedrooms and offices are usually the most straightforward unless there is wall damage or dark existing color to cover. Living areas can take more time because they often have higher ceilings, more visible wall space, and more furniture to protect. Kitchens and bathrooms require more prep because of grease, humidity, and tighter working areas around cabinets, fixtures, and appliances.
Accent walls can look sharp when done cleanly, but they also require more precise cut lines. Ceilings may seem optional, yet a freshly painted wall next to an old ceiling can make the ceiling look dingy. Trim and doors often add the most labor because they need detailed prep, careful brushing or spraying, and enough drying time to avoid sticking or marring.
That is where expectations matter. A room can be repainted quickly if the surfaces are already in good shape. If there is patching, stain blocking, trim refinishing, or major color change involved, the timeline naturally grows.
DIY or hire a professional?
That depends on the room, the condition of the surfaces, and your tolerance for prep, cleanup, and detail work. A small spare bedroom with clean walls and simple layout may be manageable for a careful homeowner. A two-story great room, a stairwell, or a full interior repaint with trim and doors is a different level of project.
The cost question should include more than paint and rollers. DIY work also involves patch materials, caulk, drop cloths, tape, ladders, brushes, extension poles, primer, cleanup supplies, and your time. If mistakes happen, repainting costs more than getting it done properly at the start.
Professional interior painting should provide more than labor. It should bring a clear process, reliable scheduling, product knowledge, surface repair experience, and quality control. Homeowners usually notice the value in the edges, the consistency, the cleanliness, and the lack of surprises during the job.
If you do hire a contractor, ask how they handle prep, daily cleanup, touch-ups, and final walkthroughs. Those answers tell you a lot about the standards behind the estimate.
How to plan your project without unnecessary stress
Good planning makes the work easier on everyone in the house. Start with your goals. Are you preparing to sell, updating a recently purchased home, or refreshing rooms that have simply aged out? A cosmetic update for resale may call for broad appeal and efficient scheduling. A long-term home update may justify more custom color choices and additional trim or door work.
Try to decide on colors before the scheduled start date. Last-minute changes can delay ordering and slow production. Clear the work areas as much as possible and make arrangements for pets, children, or home office use if certain rooms will be off limits during the day.
It also helps to think in phases. If painting the entire house at once feels disruptive, many homeowners break the job into sections such as common areas first, bedrooms second, and trim or ceilings after that. There is no single right sequence. The best plan is the one that fits your household and your budget.
What quality workmanship looks like during the job
A professional interior paint job should feel organized. Floors are protected. Materials are staged neatly. Communication is consistent. Repairs are addressed before topcoats begin. At the end of each day, the home should be left clean and workable.
During application, consistency matters. The finish should look even across the wall, not patchy or flashing in certain light. Cut lines along ceilings, trim, and corners should appear sharp. Reinstalled plates and hardware should be clean, and touch-up work should be handled before the project is considered complete.
This is where small-crew accountability often makes a difference. When the same team handles prep, painting, and final review, there is usually stronger ownership over the result. That matters to homeowners who care about trust just as much as appearance.
Common mistakes that cost homeowners later
The most common problem is rushing the prep. Right behind that is choosing the wrong sheen for the room. Another mistake is assuming one coat will cover everything, especially over darker colors, repaired areas, or inconsistent old paint.
Skipping primer when it is needed can lead to bleed-through, uneven absorption, or poor adhesion. Painting over dirty walls can shorten the life of the finish. Using bargain materials to save a little upfront can mean repainting sooner than expected.
There is also the timing issue. If a home has other work planned, such as flooring, electrical updates, or cabinet refinishing, interior painting should be scheduled in the right order. Otherwise, one trade can end up damaging another’s finished work.
For homeowners in Mesa and nearby communities, that attention to planning and prep is what separates a fast paint job from a finish you can trust. Companies like 1UP Painting LLC build their reputation on those details because homeowners remember how the work looked, how their home was treated, and whether the result still holds up months later.
A well-painted interior does more than change color. It makes the space feel cared for, settled, and ready for everyday living, which is exactly what good workmanship should do.